

[ad_1]
Need to troubleshoot a dead outlet? Purchasing a multimeter, the go-to tool for diagnosing electrical problems, could allow you to investigate and address outlet issues. This handy device can help you find out whether outlets are bad and so much more.
Not sure how to test an outlet? Read on, and the experts at Mr. Electric® will help you learn how to use a multimeter to test an outlet:
What Can a Multimeter Tell You about Outlets?
A multimeter can help you determine:
- If power is actually reaching an outlet
- If the outlet is properly grounded
- Whether wiring within the outlet is reversed
It does this by measuring three different electrical values: voltage, amps, and ohms. By learning how to effectively read these outputs, you can determine whether your outlet is functional and, if it is indeed broken, what is rendering it non-functional.
How to Test an Outlet with a Multimeter in 7 Simple Steps
- Learn the essentials of outlet testing safety.
Because you will be performing these tests on a live outlet, ensure your safety by holding both meter probes in the same hand. This will prevent shock from passing through your body. Never allow the metal portion of the probes to brush each other or touch, as this can create a dangerous short circuit. - Get to know outlet geography.
Modern outlets have three slots: one for hot, one for neutral, and one for ground. The rounded half circle is the ground, the longer slot (left) is the neutral and the shorter slot (right) is hot. Remember that any of the three wires can carry current, so treat each one with caution. - Adjust your multimeter.
Set your meter to measure voltage. Select the alternating current (AC) function on the multimeter, which is often depicted with a wavy line. The direct current (DC) function will have a solid and a dashed line. - Connect the leads.
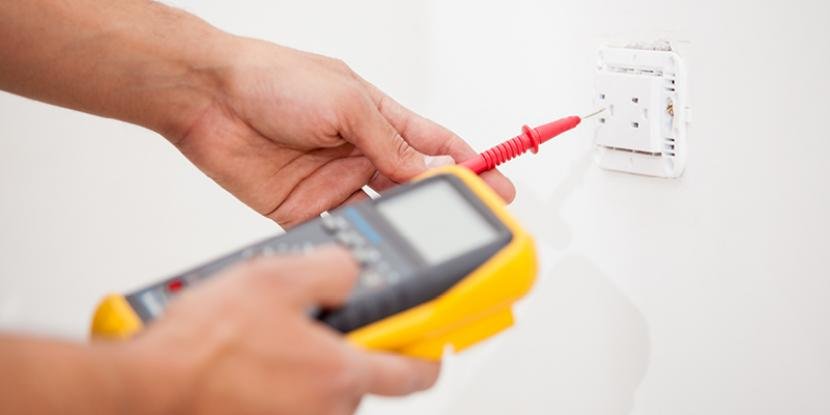
Push the short, thick connector (called a banana plug) of the BLACK lead into the connector labeled ‘COM’ (it may have a minus “-” sign beside it). Then, plug in the RED connector labeled with a “+” or “Ω” (the Greek letter Omega). - Measure the voltage to determine if the outlet has power.
Using one hand, insert a probe into each vertical slot on the outlet. Red goes in the smaller slot, black into the larger one. A properly functioning outlet will give a reading of 110–120 volts. If there is no reading, either something is wrong with the wiring in the outlet or the circuit breaker is tripped. - Determine if the outlet is properly grounded.
Keep the red lead in the small slot and move the black lead and place it in the ground (U-shaped) outlet slot. The reading should remain the same. If it doesn’t, the outlet is improperly grounded. - Check if the wiring is reversed.
Place the red lead into the large slot and the black lead into small slot. If you get a reading, the wiring is reversed. This won’t affect simple equipment like lamps but can cause issues for more sophisticated appliances and electronics.
Count On Mr. Electric for Safe, Prompt Electrical Service
Need to resolve your outlet issue? Avoid a hair-raising electrical experience. Your local Mr. Electric will be happy to help with any electrical projects you’ve been putting off. Whether you need to replace an existing outlet or install a new outlet, our experts can handle your needs. Schedule an appointment online or call us at (844) 866-1367. Contact Mr. Electric today.
This blog is made available by Mr. Electric for educational purposes only to give the reader general information and a general understanding on the specific subject above. The blog should not be used as a substitute for a licensed electrical professional in your state or region. Check with city and state laws before performing any household project.
[ad_2]
Source link